Vinyl Siding Starter Strip Installation Video
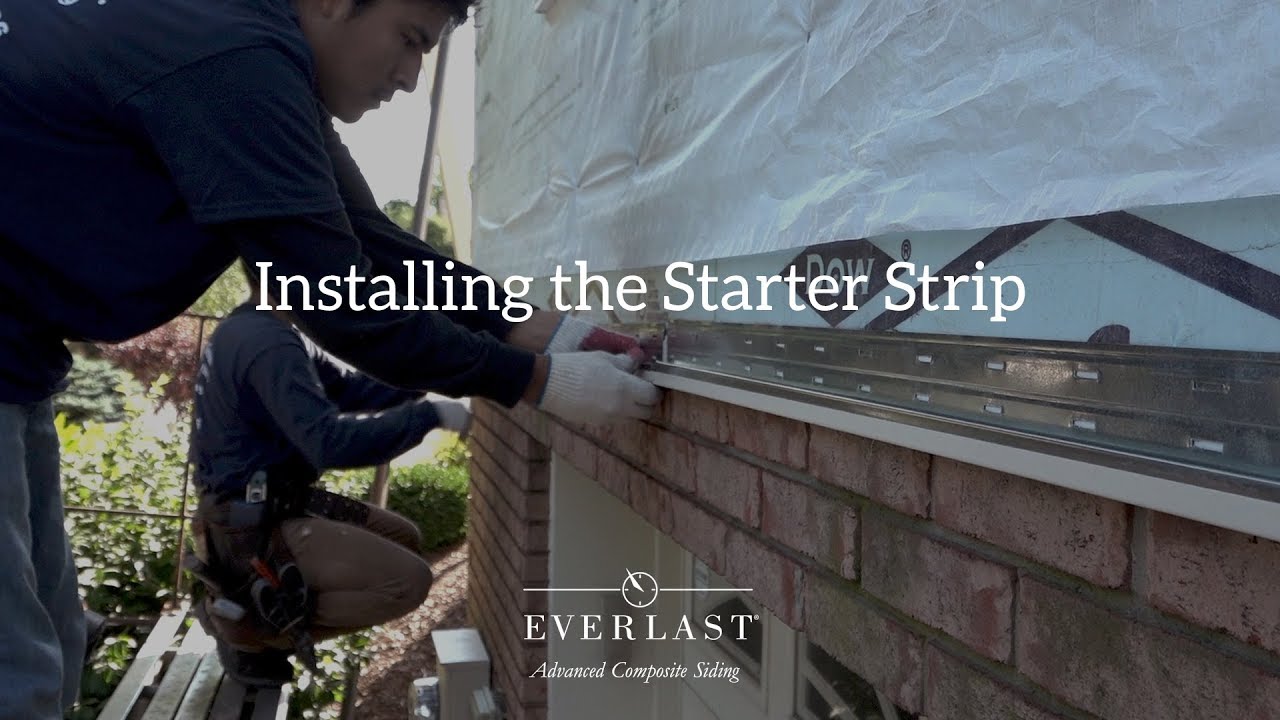
Installing The Starter Strip How To Install Everlast Advanced Composite Siding Youtube

13 Simple Vinyl Siding Installation Tips Installing Siding Vinyl Siding Vinyl Siding Installation

2 3 8 X 10 Steel Starter Strip At Menards

Siding Contractors Answer How To Install Vinyl Siding Starter Strips

Installing Starter Strip For Certainteed Vinyl Siding Installation Youtube

Vinyl Siding Starter Strip Diy In A Hour

Part 2 horizontal siding installation part 3 vertical siding installation part 4 soffit installation part 5 other recommendations part 6 accessories inside outside corners part 7 accessories starter strip part 8 accessories windows doors roof liners part 9 disclaimer.
Vinyl siding starter strip installation video. The bottom piece here is a starter strip which is specific to this particular type of siding product. How to install vinyl and aluminum siding and step 2. Nail to wall following nailing instructions in important installation tips. When the wall surface is uneven shim out the starter strip to avoid a wavy appearance in the finished siding job.
Below the top of the foundation but the lower the vinyl siding is installed the better. It protects the sheathing from rain snow and pests. Remember to make sure the sheathing is smooth before you apply the siding so the siding can be smooth also. Then nail a 3 1 2 in.
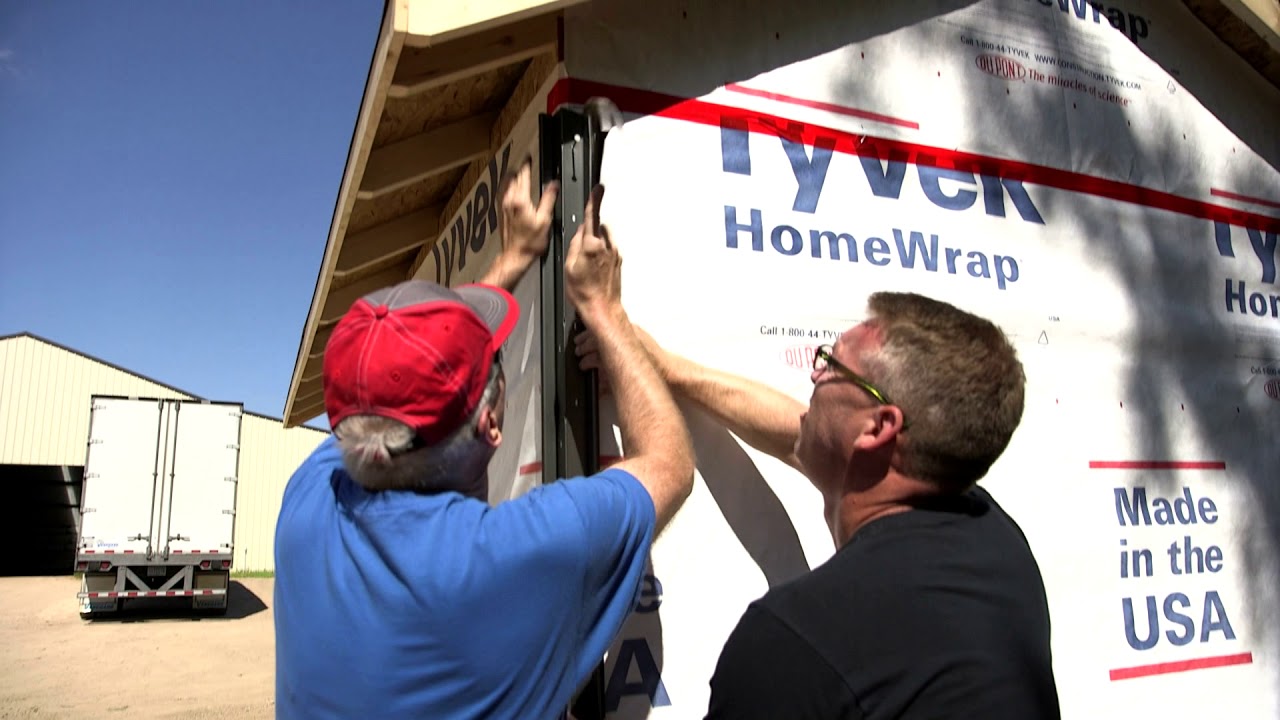
For the remaining vinyl siding panels to be installed correct and level beginning with the lowest row you must install the starter strip correctly. Plywood above this line to hold out the bottom of the first row of siding and nail the starter strip to this plywood. Double channel lineals installation. It s installed along a level line with long roofing tacks.
Like most vinyl siding vinyl shake installation starts with the application of the appropriate trim strips around the perimeter of the area to be covered. Position starter strip with the top edge of chalk line and allow room for corner posts. Trimming around service utilities. How to prepare walls for vinyl or aluminum siding.
Soffit and fascia installation. Install starter strips trim now you re ready to begin installation of the starter strips and corner posts that receive the siding panels. Vinyl siding installation planning and prep. The bottom of the starter strip the part the bottom panel hooks on to should be at least 1 in.
Trimming bay and bow windows.

Vinyl Siding Installation Getting Started 2018 Youtube

Tandostone Install Step 4 Installing Tando Universal Starter Strip Youtube

The Foundry Vinyl Starter Carton Of 20 Pieces Amazon Com

Starter Strip And Under Sill Trim Vinyl Siding House Siding Installation Vinyl Siding Installation
Siding Installation Starter Strip Corner Base Youtube

How To Install Vinyl Siding In 23 Steps Tips On Vinyl Siding Installation

Abtco 1 2 Vinyl Starter Strip At Menards

Vinyl Siding Starter Strips Erettile Info

13 Simple Vinyl Siding Installation Tips Installing Siding Vinyl Siding Installation Vinyl Siding

Vinyl Siding Starter Strip Installation Cedar Siding Building A Tiny Timber Frame Cabin Equalmarriagefl Vinyl From Vinyl Siding Starter Strip Installation Pictures

Certainteed 2 1 4 Vinyl Starter Strip At Menards

Ply Gem Vinyl Starter Strip Vs1200h The Home Depot

Insulated Vinyl Siding Cost A Guide To Pricing Estimates And Roi Progressive Foam Technologies

